When using your email address to register a Glodon account for the first time, you will receive an email with your account and original password. If the email is not received, please check the Spam. Click Modify Password in the email to change the password as shown in the figure below. Then, you can log in Glodon License Management Center with the account and changed password.
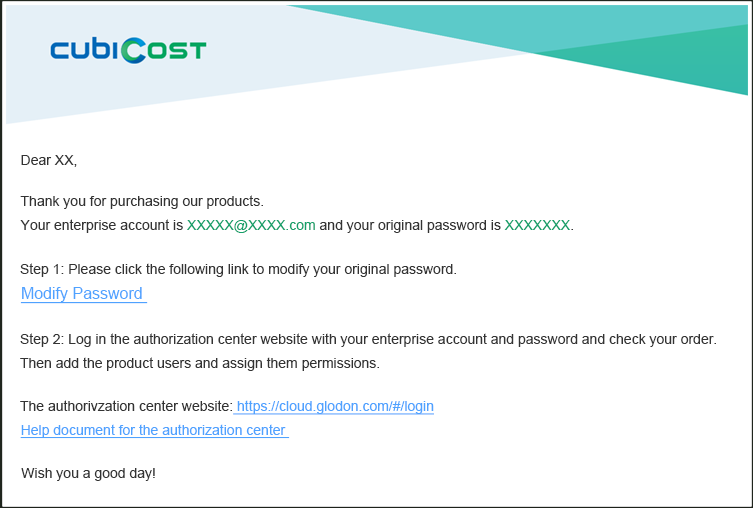
Figure 1: Activation Email
If you have registered a Glodon account with your email address and forgotten the password, please visit https://account.glodon.com/forgetInit to reset it.
Please visit https://cloud.glodon.com/#/login to log in to Glodon License Management Center with your Glodon account (email address) and password.
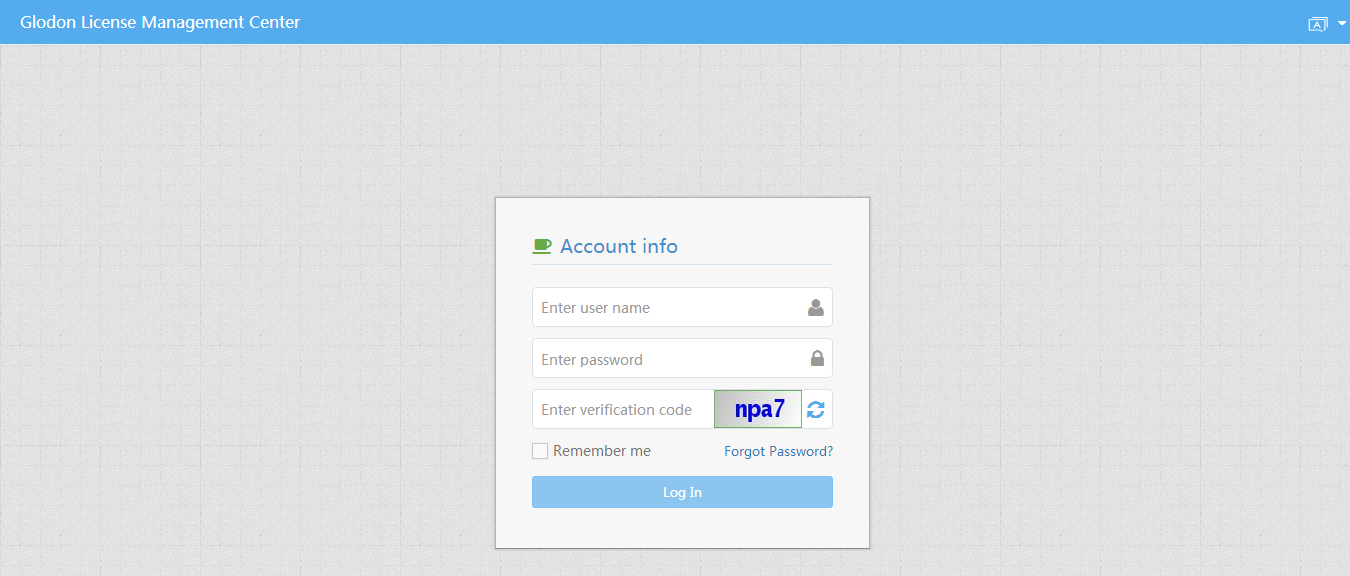
Figure 2: Login Interface for Glodon License Management Center
It is necessary to enter user information in the Employee Management interface before assigning purchased products, which can be done by the following two ways:
1.Add the information of a single user: Click Add User, enter his email address and name in the pop-up window, then click OK.
2.Import the information of multiple users from Excel: Click Batch Import to import multiple users from an external Excel file. First, download the Excel template in the pop-up window. Second, enter the information of all users based on the template, select it and click Import.
Please note that an email address can only be added for one time.
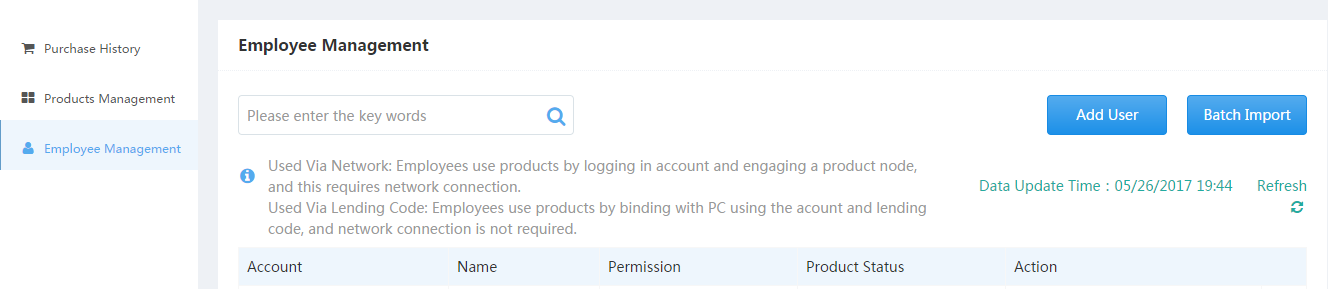
Figure 3: Add/Bath Import Users
Step 1: After entering the user information, click Assign Permission to assign products to each user.
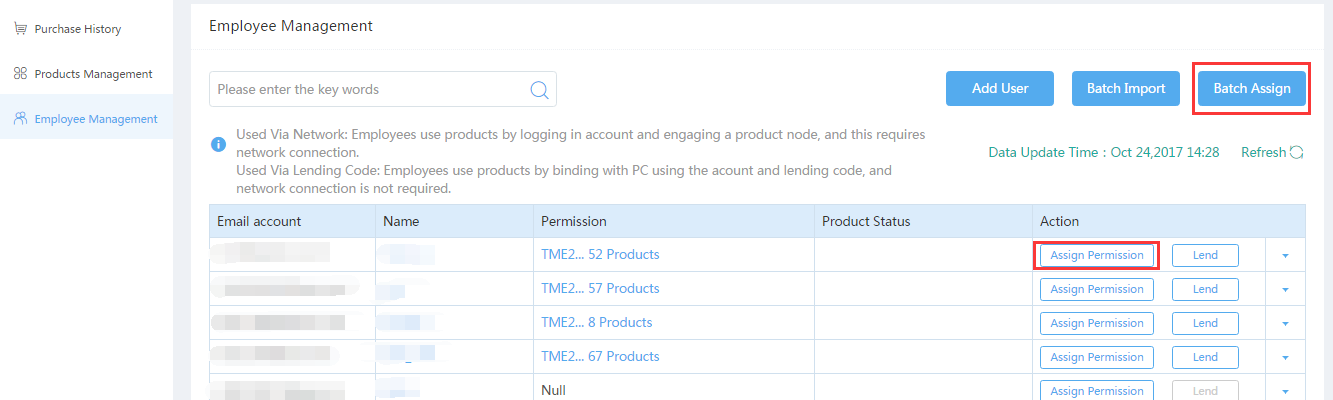
Figure 4: Assign Permission & Batch Assign
1.If this is the first time to assign users products, you can use Batch Assign. Click Batch Assign, then batch select the users and the products.
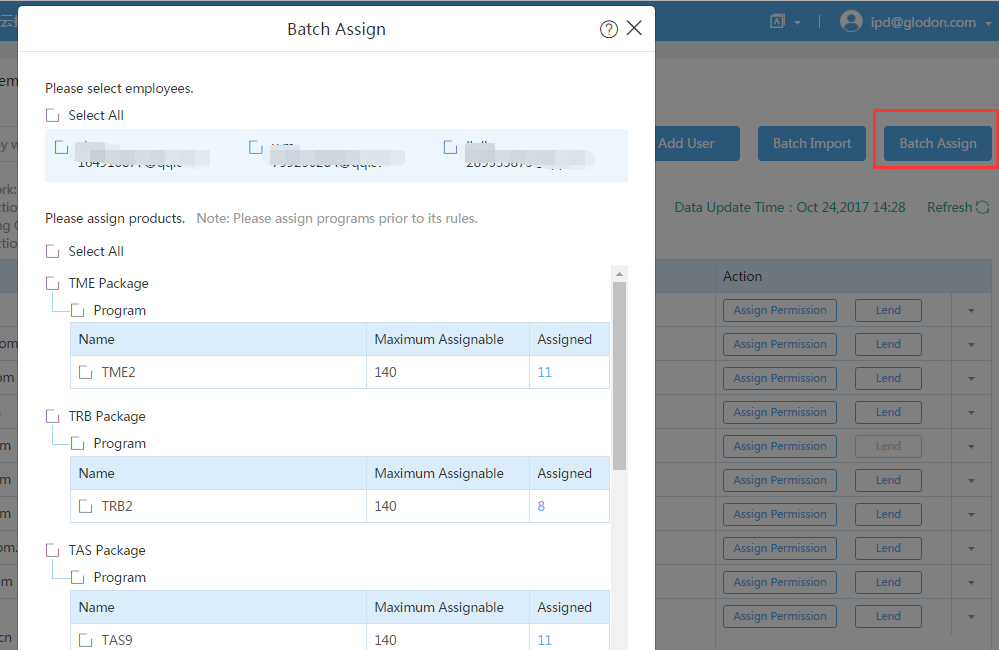
Figure 5: Batch Assign
2.If the users were already assigned products, you can click Assign Permission to assign products to the current user.
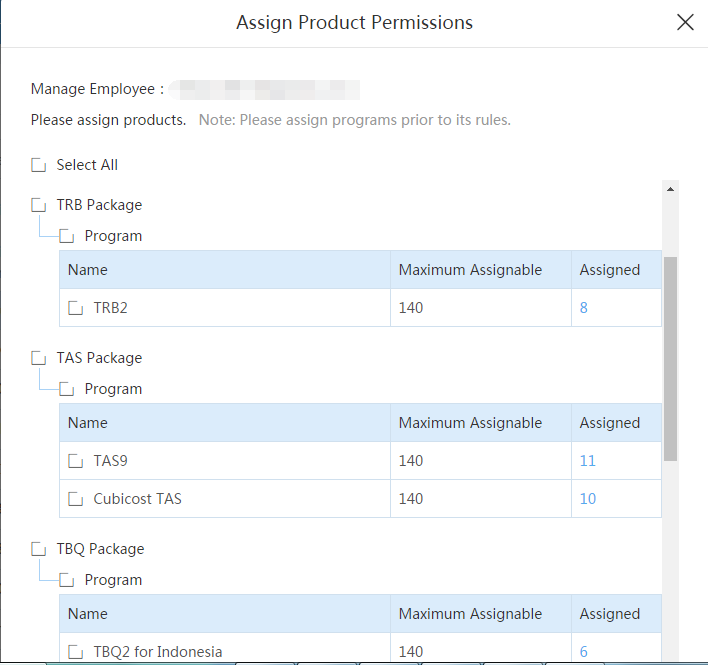
Figure 6: Assign Permission
Step2: After products are assigned successfully, they will be displayed in the Permission column.
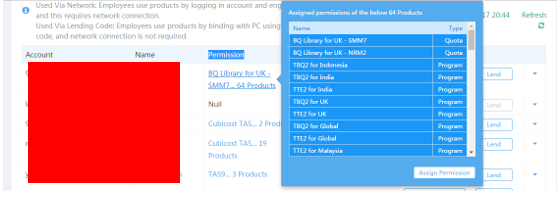
Figure 7: Products Assigned Successfully
Step3:The user has not used the Cubicost software before will receive an email with his account and password.
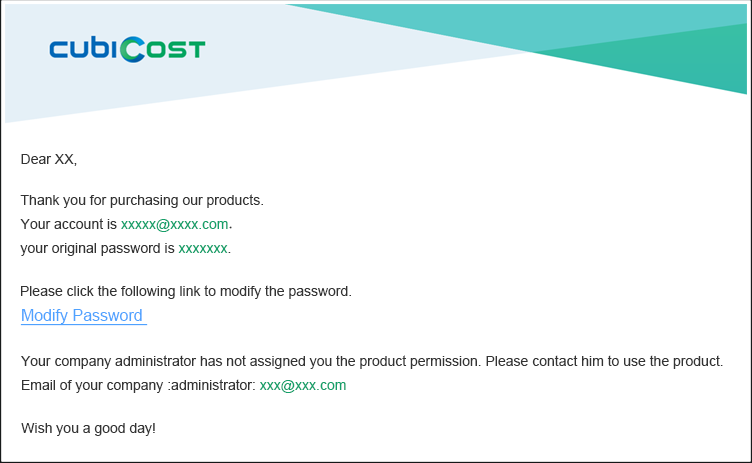
Figure 8: Email with Glodon account & Original Password
Step4: After the administrator assigns product permissions, the related users will receive an email to inform them of which software they can use.
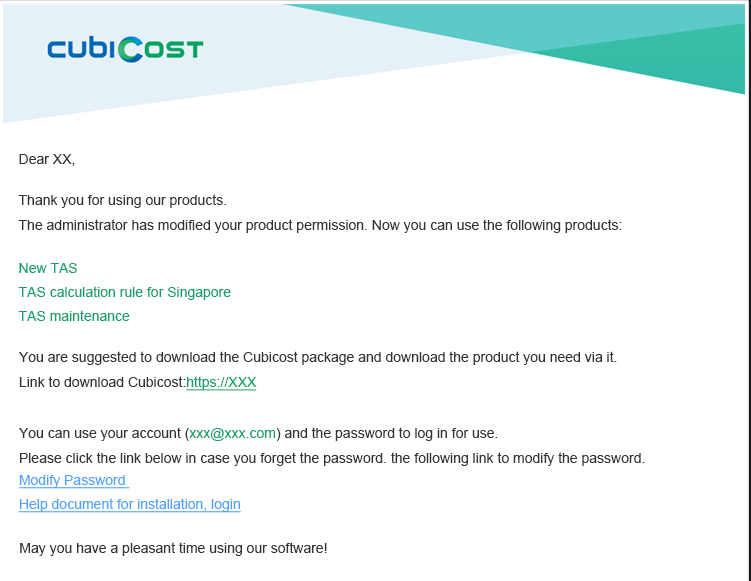
Figure 9: Email with Product Permission Info
Step 5: Then they can log in those products with their own emails and password.
About how to use the assigned products with accounts and passwords, please refer to http://www.glodon.com.sg/help/cloudlicense/how-to-use-the-license for details.
Step 1: To allow a user to use a product offline, the administrators can click Lend to select which product to lend.
Note: The Lend function can’t be used for the TBQ new version.
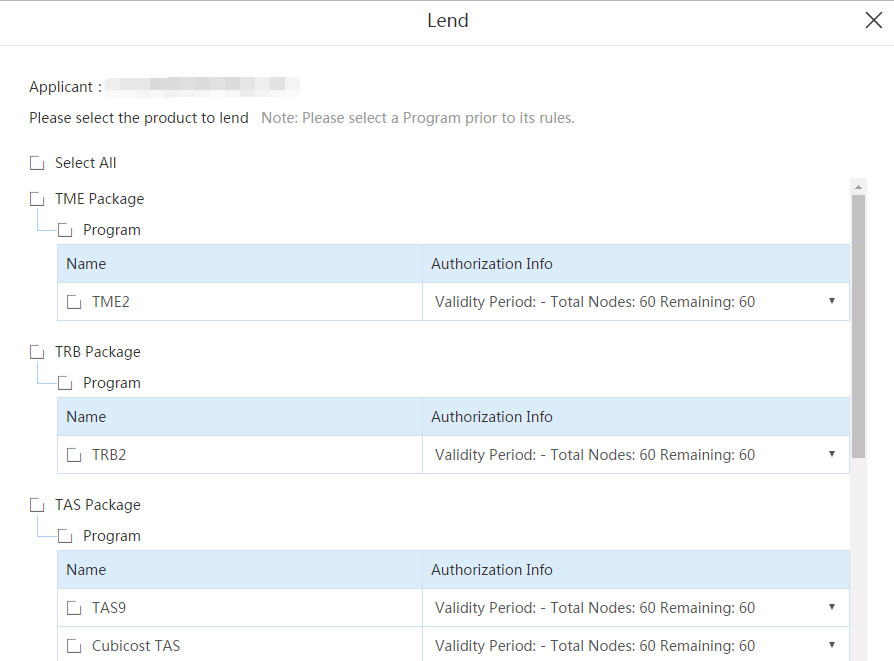
Figure 10: Lend
Step 2: The user will receive an email with the lending codes.
Step 3: Then they can register and use the lent products with their own emails and lending codes.
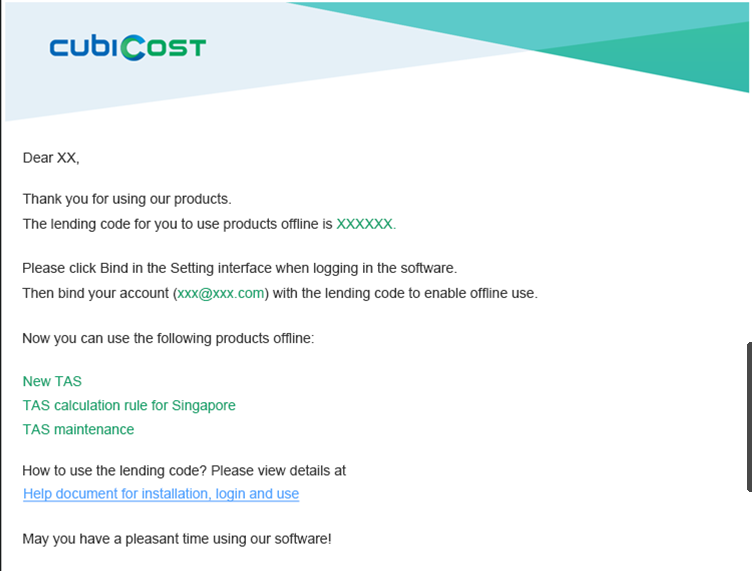
Figure 11: Email with Lending Codes
Please refer to http://www.glodon.com.sg/help/cloudlicense/how-to-use-the-license for more information about how to use lending codes.
The administrators can force retrieve the product. As shown in the figure below, the Retrieve operation allows administrators to retrieve products lent to users.

Figure 12: Retrieve
In the case that a user’s lending code is unbound, i.e., the product is not used by the user, the administrator can retrieve the license directly.
If the user’s lending code is bound to a computer, indicating that the product is used, the administrator can still retrieve it. But it will be in a special status of To Be Retrieve other than being retrieved immediately. In this case, the license will restore to the status of Unbind as soon as Glodon License Management Center receives respond from the user’s computer. The user’s computer communicates with Glodon License Management Center at a regular interval (about 30 minutes) through Internet. However, when the user’s computer is offline, the Retrieve operation won’t be successful until the binding becomes invalid automatically (7 days after the successful binding).
In the Purchased History interface, the administrator can view order details and all products the company has purchased, as well as the remaining numbers of licenses of each product.

Figure 13: Purchased History
In the Product Management interface, you can check the current using status of each software.
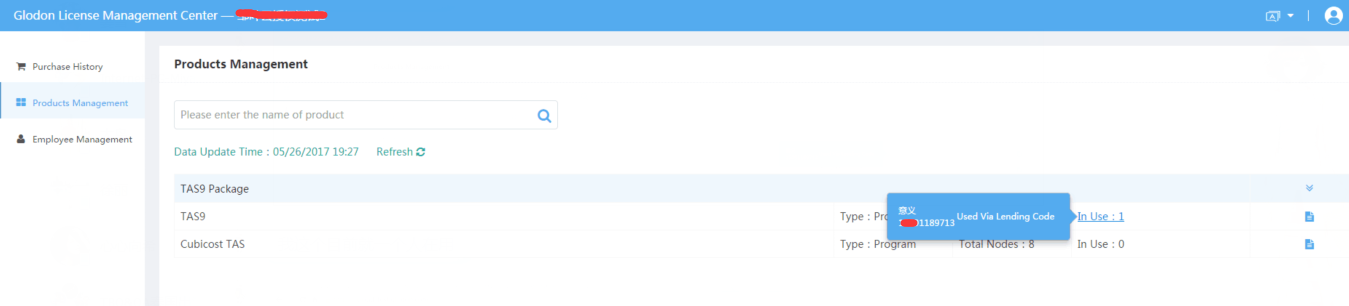
Figure 14 :Products Management